
Last updated November 16, 2026
 AC repair
 Furnace & heating
 Heat pumps
 Ductless mini splits
 Carrier
 Trane
 Goodman
Seasonal tune-up and full diagnostic on your Carrier, Trane, or Goodman system - readings shown to you before any repair is proposed
Diagnosis first, numbers second - you approve the repair price before a single part goes in.
Get your free estimateAC Installation Maintenance Checklist for Clearwater Homeowners
Here’s the part most homeowners don’t hear until it’s too late: your AC warranty depends on documented maintenance, and the schedule printed in your owner’s manual was written for a climate nothing like ours. Manufacturers draft one booklet for the whole country, then ship it to Clearwater, where a system runs the better part of the year in heavy humidity. Follow that generic schedule to the letter and you can still end up with dirty coils and a clogged drain line. What actually protects your investment is a checklist built around Clearwater’s seasons, its humidity, and the way air conditioning equipment really wears here. Below we walk through the checks to run in the first week after installation, a month-by-month calendar, and which tasks are safe for you to handle versus which belong to a licensed technician.
Quick Answer
After a new AC installation in Clearwater, check airflow at every supply vent and confirm the thermostat responds within the first week, then clean or replace the filter every month during heavy cooling season and inspect the condensate drain line regularly. Schedule professional maintenance twice a year, and around Clearwater’s hot, humid stretch in particular treat drain-line cleaning and coil care as priority tasks, since that’s when biological growth builds fastest. The written maintenance record you keep along the way is often what keeps the manufacturer warranty intact.
Styles & brands we work with
- AC repair
- Furnace & heating
- Heat pumps
- Ductless mini splits
- Carrier
- Trane
- Goodman
Table of Contents
- The First Week: Post-Installation Checks You Can Do Yourself
- Why the Owner’s Manual Schedule Doesn’t Fit Clearwater
- A Month-by-Month Maintenance Calendar for Clearwater
- The Condensate Drain Line: The Most Overlooked Part of the System
- Which Tasks Are Homeowner-Safe and Which Void Warranties
- Red Flags in the First Year That Point to an Install Problem
- How Maintenance Affects the Lifespan of Your System
- Choosing the Right System and the Right Installer
The First Week: Post-Installation Checks You Can Do Yourself
The first seven days after a new system goes in tell you a lot about whether it was set up correctly. None of these checks require tools or technical training, and each one confirms the installation was done right rather than just done. Run them before the installer’s work fades from memory.
- Test airflow at every supply vent. Hold your hand at each register and confirm you feel steady, even airflow. Weak flow at one vent while others are strong usually points to a damper left closed, a crimped duct, or a sizing issue that should be corrected while the installation is still fresh.
- Watch the thermostat respond. Set the temperature a few degrees below room temperature and confirm the system starts within a reasonable window, then check that it actually reaches the set point and shuts off. A thermostat that runs continuously without hitting the target is a sign the system may be oversized or the charge is off.
- Run the condensate drain test. With the system cooling, look for steady drainage at the condensate line’s discharge point. Water pooling near the indoor unit or a drain that never produces water during a cooling cycle means the drain path needs attention. Pour a cup of water into the drain pan access if you have one and watch how it flows.
- Listen for unusual sound. A new system should be quiet and steady. Rattling at the outdoor unit, a persistent hum, or air noise at the vents are all worth flagging to the installer during the first week.
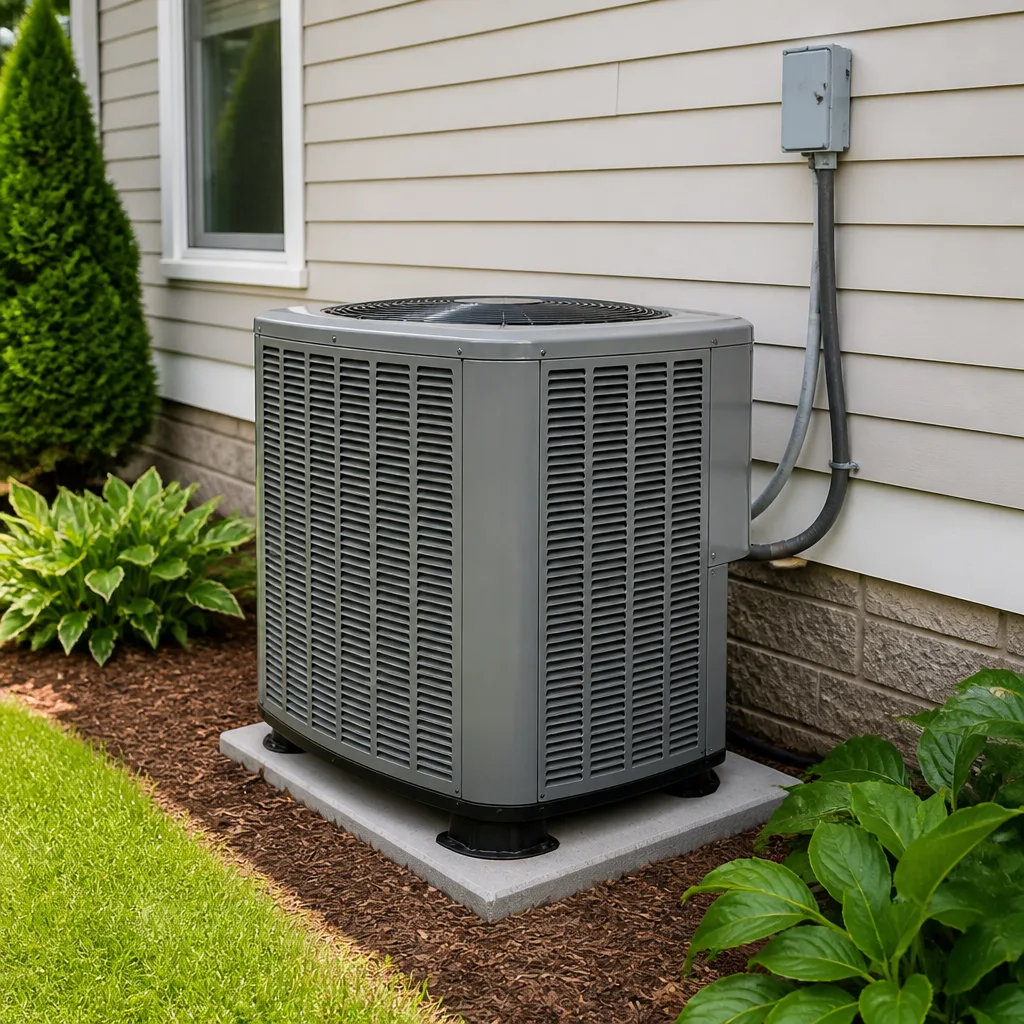
- Check the outdoor unit’s clearance. Confirm nothing is stacked against the outdoor condensing unit and that it sits level with at least a couple of feet of clearance around it for airflow. Plantings, fencing, or stored items too close will choke the unit in the heat.
- Confirm the filter is seated correctly. Pull the filter and confirm it’s seated the right way around and that you know what size it takes, so you can replace it monthly from here on.
A local team that handles AC installation well will welcome these checks and address anything they turn up. They want the system running right as much as you do, because their name is on the install.
Why the Owner’s Manual Schedule Doesn’t Fit Clearwater
Manufacturers write one maintenance booklet for every climate in the country. That works fine for the overall categories of tasks (filters, coils, drain, refrigerant check) but it badly underestimates how hard a system works here. In Clearwater, cooling season sprawls across most of the year, humidity stays high, and that combination pushes biological growth in drain lines and evaporator coils far faster than in a drier, shorter-summer region.
Three factors make Clearwater different from the average climate the manual assumes:
- Long run times. A system that runs through the bulk of the year puts more hours on the compressor and blower than one that sits idle half the year. More run time means faster wear on the components the manual assumes will last a set calendar period.
- High humidity. Condensation is constant here. That’s exactly what makes the drain line and the evaporator coil such a focus. Mold, algae, and biological film build up in warm, wet drain pans and lines much more aggressively than in dry climates.
- Warm overnight temperatures. When nights stay warm, the system keeps working overnight instead of resting. That changes your filter cadence and means you should inspect the drain line on a more frequent rhythm than the booklet suggests.
The practical result: if you only follow the manual, you’ll likely clean coils too rarely and ignore the drain line until it clogs. The calendar that follows corrects for that. In our experience, homeowners who adjust the generic schedule to Clearwater’s actual conditions get more reliable service from the equipment and fewer mid-season breakdowns.
A Month-by-Month Maintenance Calendar for Clearwater
This calendar is built around Clearwater’s seasons rather than a four-season template, so you can track tasks by month. It repeats annually, and a simple note of what you did each month doubles as your documented maintenance record. We work with homeowners to pair this schedule with the specific equipment they own, including brands like Rheem, York, and Daikin whose maintenance points differ slightly from unit to unit.
January through February
Cooler months are the calm before the long cooling season. This is the ideal window for a professional inspection and a coil cleaning before the system starts working hard. Check filters, clean the outdoor unit of any debris, and confirm your thermostat schedule still matches your routine.
March through April
Before the heat settles in, run the system on a warm afternoon to confirm it’s cooling and draining properly. Change or clean the filter, and clear the condensate line with a preventive flush. If you’re considering a tune-up, sooner is better than during the peak.
May through June
The cooling season begins in earnest. Move to monthly filter checks if you haven’t already. Biological growth in the drain line starts accelerating as temperatures rise, so inspect the drain pan and line for film and algae. Confirm airflow at the vents again now that the system runs regularly.
July through August
This is the peak of drain-line growth in Clearwater. Heat and humidity together create the conditions where algae and mold build fastest. Inspect the drain pan and line frequently, and don’t miss a filter change. If your system is laboring to keep up, note it now rather than waiting for it to fail.
September through October
Late-season biological growth peaks and then the cooling load starts to ease. This is a good time for a professional maintenance visit to clean the coil and flush the drain line after months of heavy use. Check the outdoor unit’s clearance again as plants have grown through the summer.
November through December
As cooling load drops, do a full post-season review: document what maintenance was done through the year, confirm filters were changed consistently, and schedule any winter inspection. If you have heating equipment alongside the AC, this is the season to think about furnace repair before you need it.
The Condensate Drain Line: The Most Overlooked Part of the System
If there’s one part of a Clearwater AC system that gets neglected more than any other, it’s the condensate drain line. When it clogs, water backs up into the drain pan, then into the surrounding space, and a float switch (where fitted) may shut the system down entirely. In this climate, that line is a body of warm, wet space where biological growth thrives, and it needs attention on a schedule, not just when it backs up.
What the drain line does: as the system cools, the evaporator coil condenses moisture out of the air, and that water drains away through the line. When growth narrows the line, drainage slows, standing water sits in the pan, and you get a clog. Here’s the routine that keeps it clear:
- Monthly in peak season: look at the drain pan for standing water and check the discharge point for steady drainage during cooling cycles.
- Seasonally: flush the line with water (and vinegar if your installer recommends it) to clear early biological film before it grows into a clog.
- Annually, professionally: have a technician inspect and clear the full drain path, including the pan and trap, as part of maintenance.
Because drain-line growth spikes in the hottest, most humid months in Clearwater, treat July through August as your highest-risk window. A clear line in spring doesn’t guarantee a clear line in August.
Which Tasks Are Homeowner-Safe and Which Void Warranties
Not every maintenance task is yours to do, and some jobs don’t just risk the warranty but pose real danger. As a general rule, the tasks a homeowner should handle involve little more than filters, accessible surfaces, and observation. Everything touching the refrigerant circuit, the electrical components, or the sealed system belongs to a licensed professional.
Homeowner-safe tasks
- Replacing or cleaning the air filter on schedule
- Clearing the outdoor unit of leaves, debris, and obstructions
- Inspecting the drain pan and confirming the drain is flowing
- Flushing an accessible condensate line with water
- Keeping a written record of filter changes and observations
- Adjusting the thermostat and confirming basic responsiveness
Tasks that belong to a licensed technician
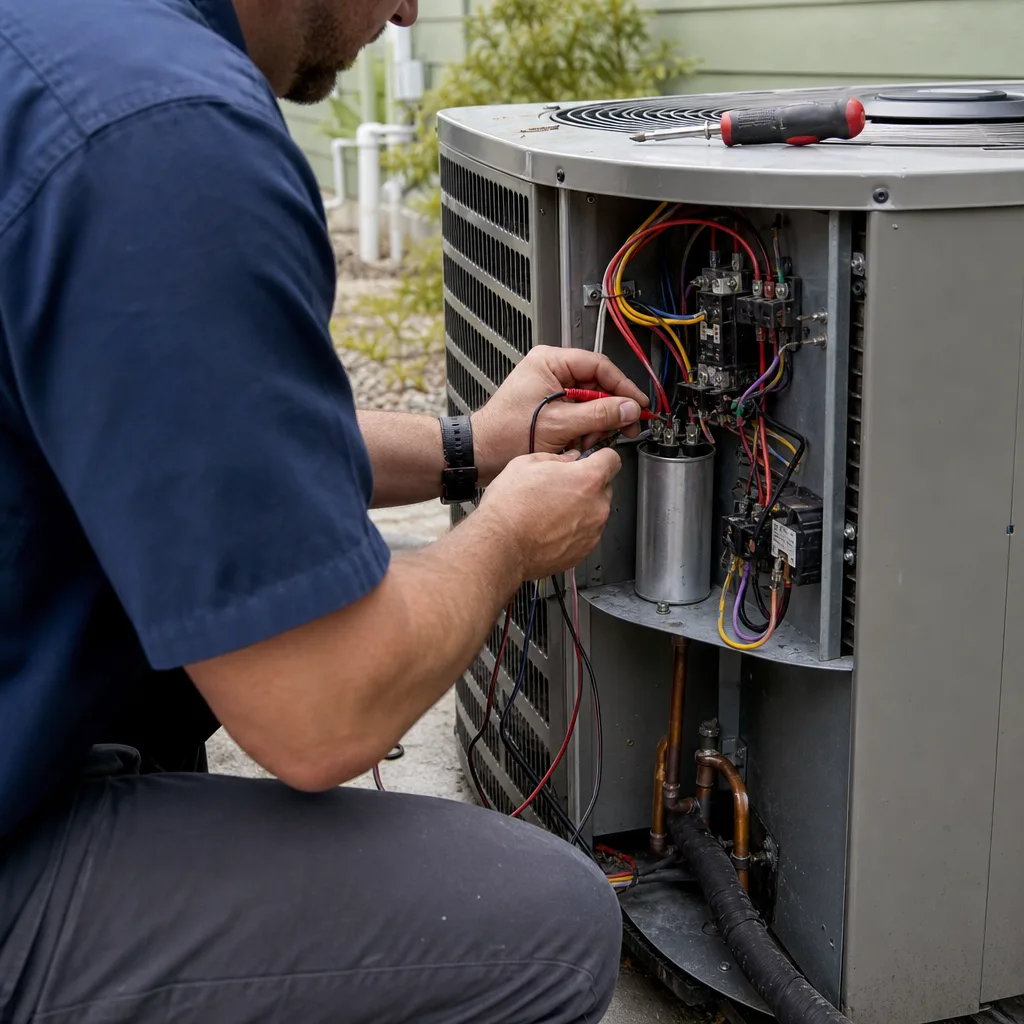
- Opening the electrical panel or checking electrical connections and components
- Anything involving the refrigerant circuit, including checking charge and handling refrigerant
- Cleaning the evaporator coil in the air handler, where access requires opening equipment
- Diagnosing or repairing the compressor or other sealed-system parts
- Servicing any part the manufacturer specifies must be done by a licensed professional to keep the warranty valid
Two safety notes, and they matter. Electrical components inside the air handler and outdoor unit can shock you even when the system looks off, so never open panels to investigate. And refrigerant handling carries real risk and is regulated, so leave it to a licensed technician. In our experience, most warranty problems come from homeowners or untrained helpers attempting sealed-system work, not from an honest filter change.
Red Flags in the First Year That Point to an Install Problem
When a new system has trouble in its first year, the instinct is to blame the equipment. But in plenty of cases the equipment is fine and the installation is the culprit. Recognizing these signs early lets you raise them with the installer while the work is still covered.
- A room that never cools. One space staying warm while the rest of the house cools points to a duct, damper, or airflow design issue from the install, not a failing unit.
- Frequent tripping or short cycling. A system that runs in short bursts and doesn’t reach the set point suggests a sizing, charge, or airflow problem set at installation.
- Water appearing at the indoor unit. Drain pan overflow in the first months points to a drain line installed with the wrong slope or a clog missed at startup.
- Persistent noise or vibration. A rattling or vibrating system from day one suggests installation issues like loose mounting or improper support, not wear.
- Ice on or near the indoor unit. Frost or ice on the coil or refrigerant lines points to an airflow or charge problem that likely stems from the install.
- Thermostat that doesn’t match reality. A thermostat that can’t hold its set point may have a wiring or calibration issue from installation.
If you spot several of these together, document them and contact the installer. A reputable one will come back. If your installer isn’t responsive, we handle setup and repair across nine brands (Carrier, Trane, Lennox, Goodman, Rheem, York, Daikin, Bryant, and American Standard), so we can look at equipment we didn’t install and tell you what’s actually going on. A brand-independent read comes from Millbrook AC Repair, where the recommendation follows what your home needs rather than what’s easiest to sell.
How Maintenance Affects the Lifespan of Your System
A well-maintained system in Clearwater will last longer than a neglected one. The gap isn’t dramatic on paper, but over the life of the equipment it adds up to years of service you’d otherwise lose, plus fewer breakdowns and lower energy bills along the way. The difference comes down to a handful of habits repeated on schedule.
What separates a system that lasts from one that doesn’t:
- Consistent filter changes. A clogged filter strains the blower and reduces airflow, and in this climate a neglected filter is the most common early failure trigger.
- A clean coil. Dirty coils force the system to work harder to cool, which shortens the life of the compressor. Regular professional coil cleaning keeps the system efficient.
- A clear drain line. Nuisance clogs that cause water damage and repeated shutdowns shorten the life of the whole system and the surrounding structure.
- A documented maintenance record. It protects the warranty and helps any technician see the system’s history, which makes future decisions easier.
- Proper matching of heating and cooling equipment. If your home has both heating and cooling, having the same team handle both sides means the systems are sized and paired to work together, which protects the AC’s efficiency.
Homeowners who think of installation as the finish line tend to get less life out of a system than those who treat the first year of maintenance as the real test. The checklist does that work for you if you follow it.
Choosing the Right System and the Right Installer
Maintenance is the long game, but installation is where the odds are set. A system that’s matched to your home’s size and needs, installed by someone who knows the equipment, starts its life in a much better position. A mismatched system, however well maintained, will fight you for its whole life.
Here’s what to weigh when you’re choosing a system and the team installing it:
- Size it to the home. An oversized system cools too fast and doesn’t remove humidity well; an undersized one never keeps up. Proper sizing is the foundation of everything downstream.
- Consider brand range. Working across nine major brands means you can match budget and needs rather than being steered to one line. Brands like Bryant and Daikin are widely installed in Clearwater for reasons that suit local conditions.
- Ask who handles the heating side. If you have a furnace or heating system, a team that covers both heating and cooling can match the equipment and keep accountability with one group.
- Get the written maintenance schedule. A good installer tells you exactly what to check and when, not just “call us if something breaks.”
- Confirm who does the work. Ask whether installation and any heating work are done by the company or subcontracted. The difference matters when something needs attention later.
For homeowners in Clearwater, the right combination is a system sized to your home and an installer who’ll support it after the install. We help with both.
Common Mistakes to Avoid
- Treating the manual’s schedule as gospel. It was written for a generic climate, and following it exactly in Clearwater leaves coils dirty and drain lines clogged sooner than the booklet warns.
- Skipping filter changes during heavy cooling months. In Clearwater’s long cooling season, a filter on a monthly cadence is a baseline, not an optional extra.
- Never inspecting the drain line in peak summer. Biological growth peaks in the hottest, most humid months, so a drain that was clear in spring can back up by July without signs you’d notice until it overflows.
- Doing sealed-system or electrical work yourself. Panels carry shock risk and refrigerant is regulated, and untrained sealed-system work is the most common way homeowners jeopardize their warranty.
- Ignoring first-year quirks. Treating a warm room or a short-cycling system as “just how it is” in the first year lets an install issue turn into an out-of-warranty repair.
- Not keeping a record. Without documented maintenance, a warranty claim that depends on it can become a fight you don’t need.
- Mismatching heating and cooling. Pairing a new AC with an aging furnace without considering the combination can cost efficiency; a team that handles both sides avoids that gap.
See the difference
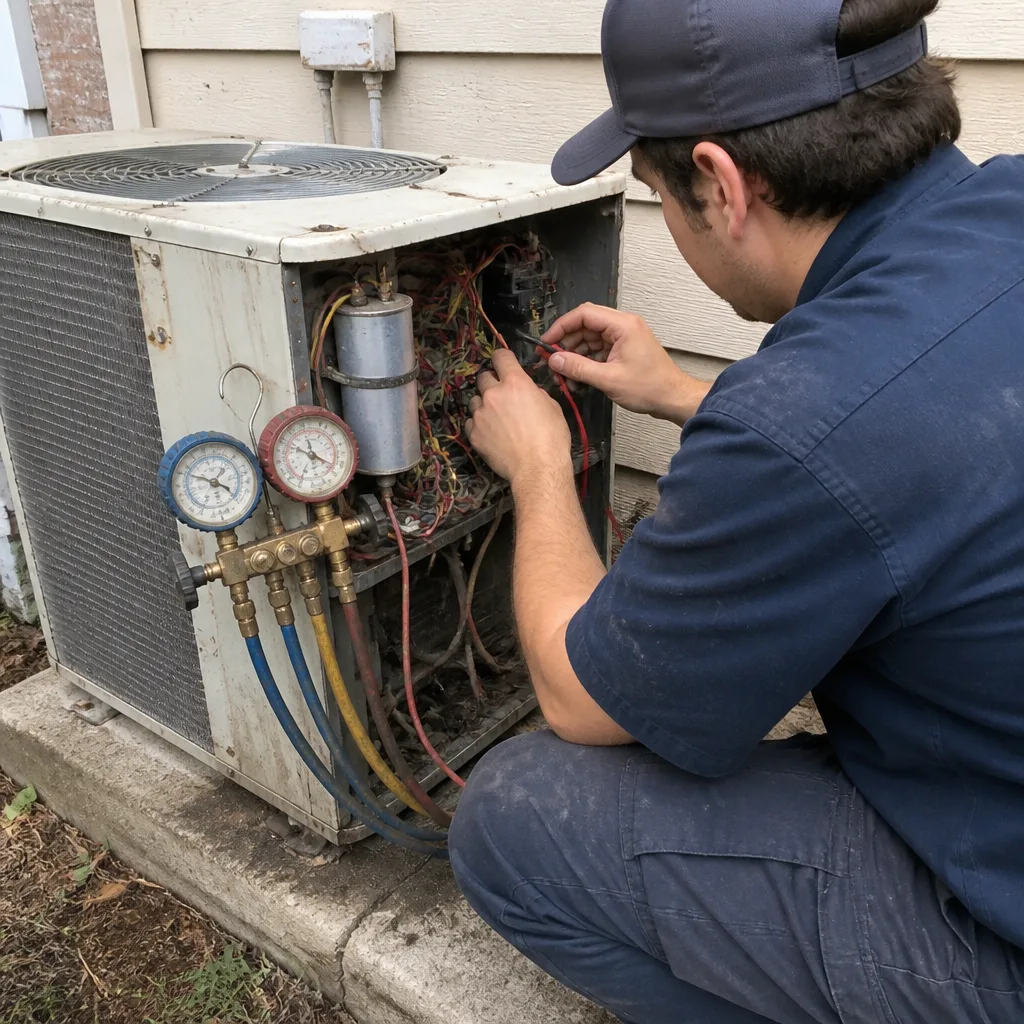 Before
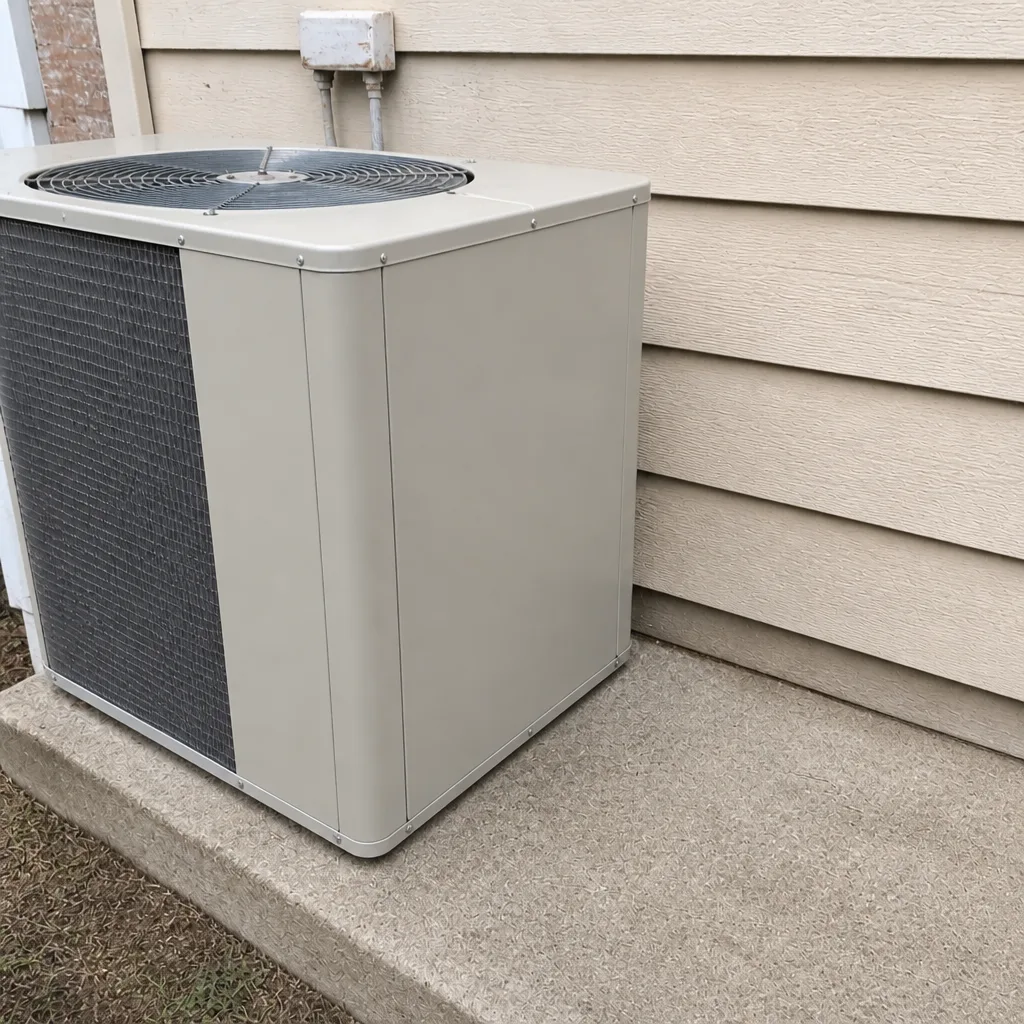 After
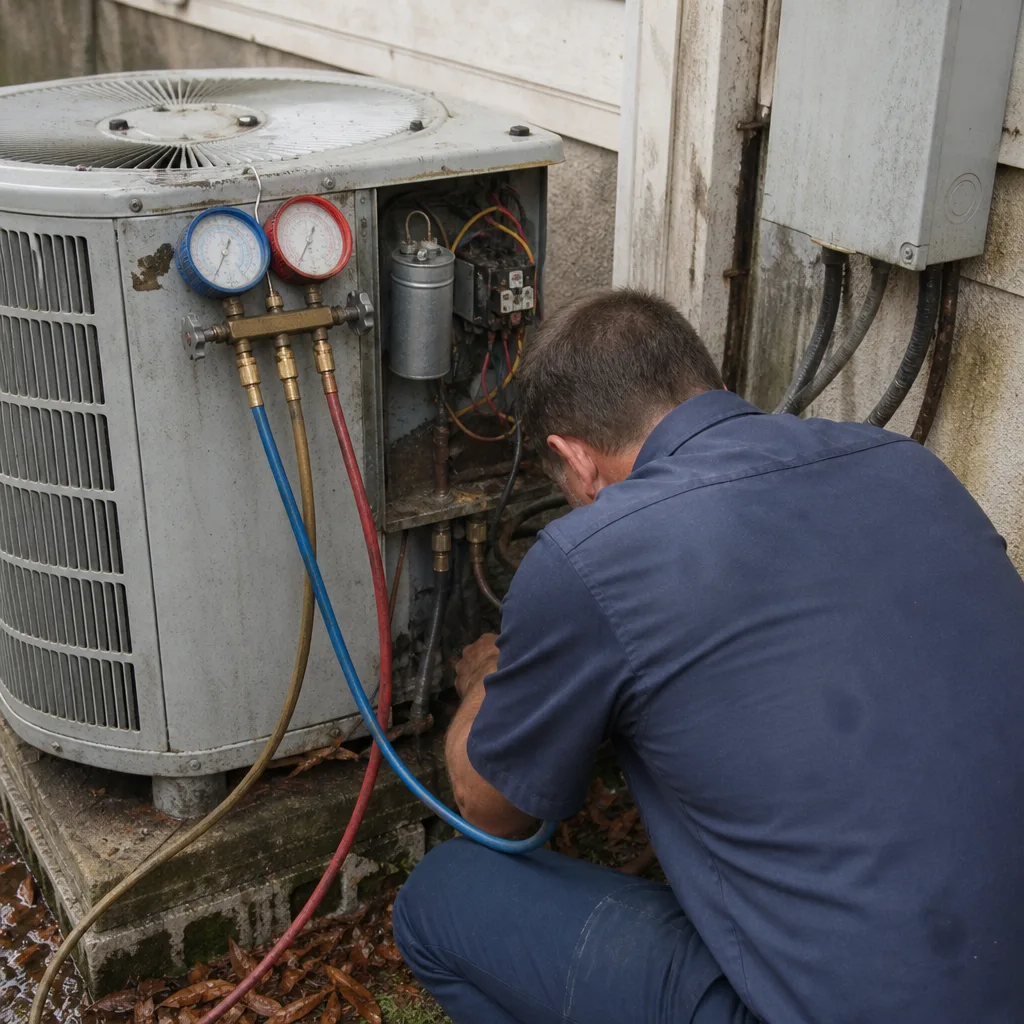 Before
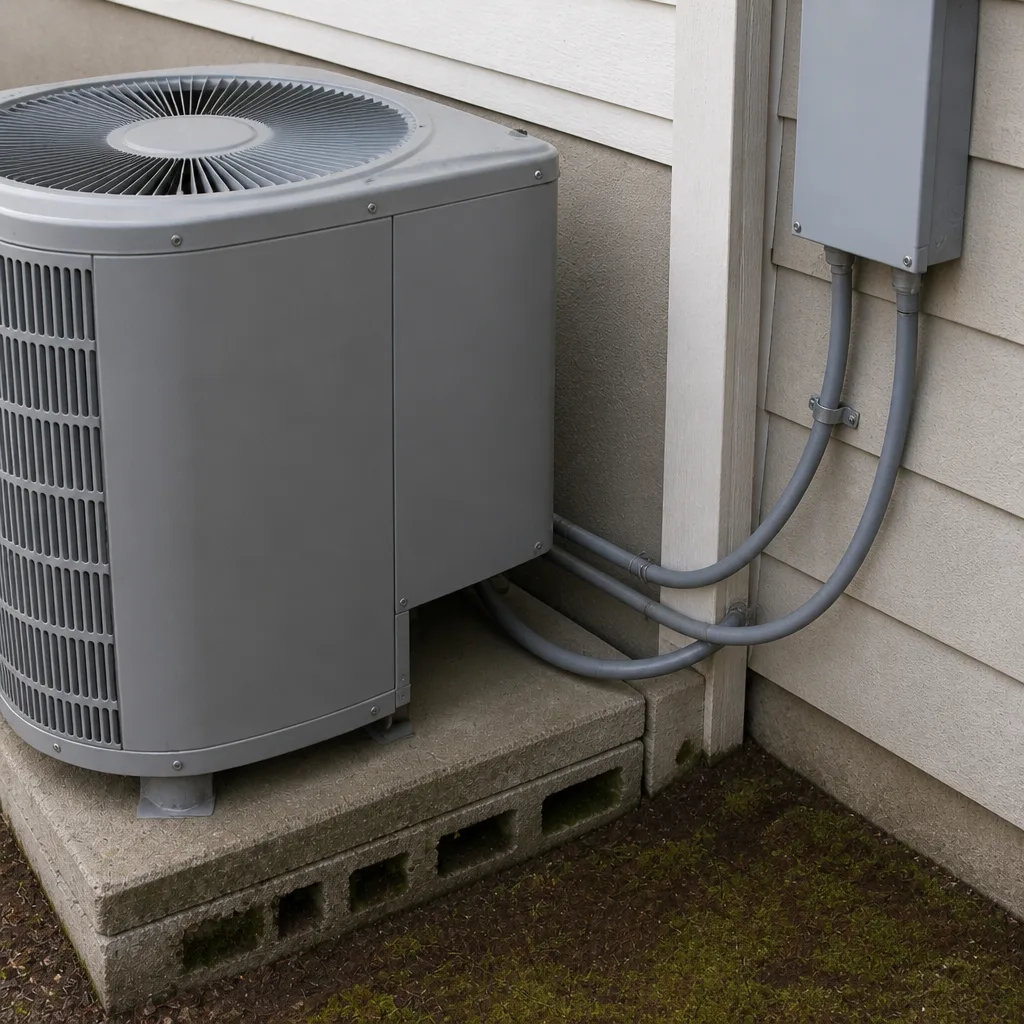 After
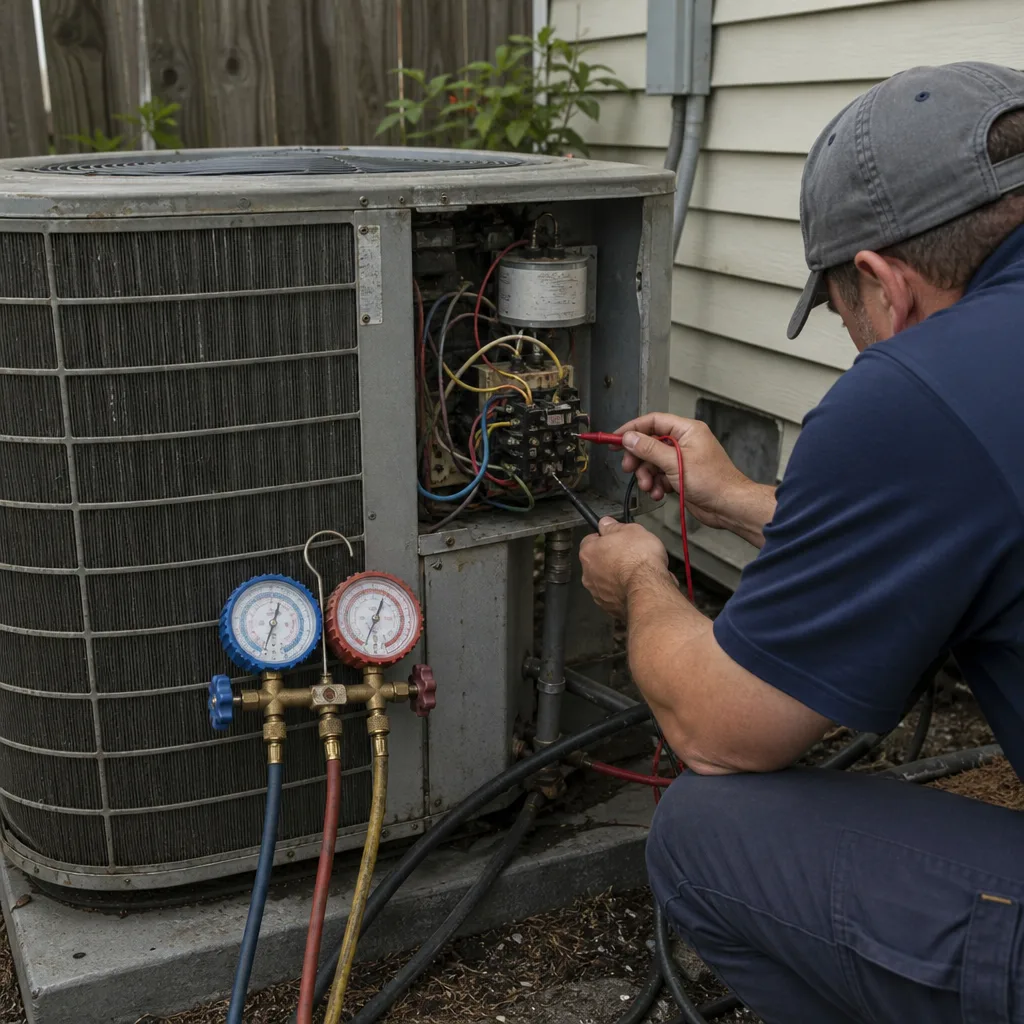 Before
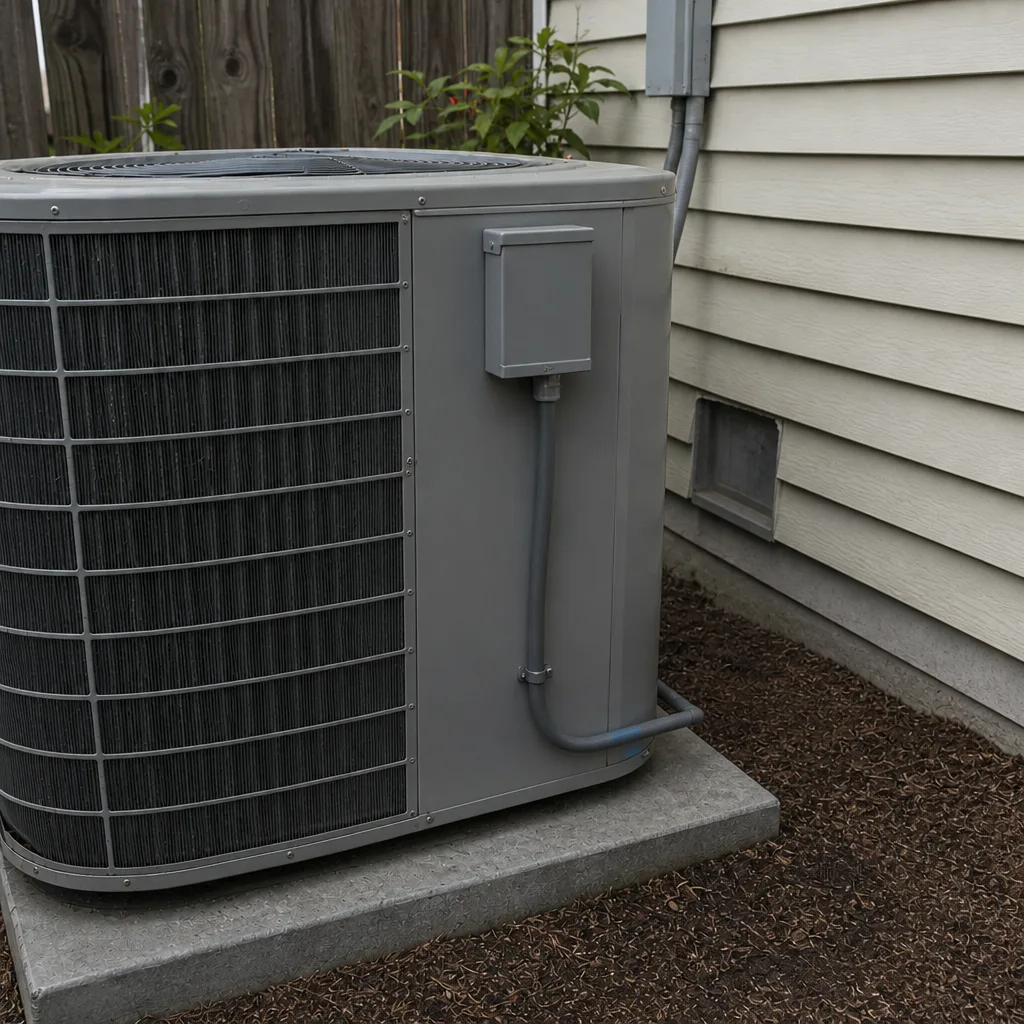 After
When to Call a Professional
Call a professional whenever the task touches electrical panels, refrigerant, or the sealed system, and call when you see frost on the indoor unit, water pooling near it, a system that short-cycles or won’t reach its set point, or a drain line that keeps clogging even after flushing. Also call if you’re unsure whether a first-year symptom is an install problem, since a trained eye can tell the difference between equipment failure and installation error. Our technicians have up to 10 years of experience, and we work across the brand you already have. Millbrook AC Repair offers free estimates in Clearwater, call (855) 360-7082. We answer 24/7, with fast dispatch from 7am to 7pm, Sunday through Friday.
Frequently Asked Questions
Change or clean the filter about once a month during the heavy cooling season, and you can stretch to a longer interval in the cooler months when the system runs less. Clearwater’s long cooling season and humidity mean a more frequent filter cadence than a dry climate would need. If you’ve just had a new system installed, start monthly from day one.
Many AC warranties require documented professional maintenance to stay valid, so check the terms on your specific equipment. Keep a written record of every filter change and maintenance visit, and have a licensed technician handle anything involving the electrical or sealed system, since those are the tasks most often tied to warranty conditions.
You can safely flush an accessible condensate line with water, and monthly checks of the drain pan and discharge are homeowner-safe. Full professional drain cleaning, including the trap and pan, is worth having done as part of annual maintenance. In Clearwater, focus on the line during the hottest, most humid months when growth is fastest.
A single warm room after a new installation usually points to an airflow or duct issue from the install rather than a failing unit. Check the vent for steady airflow and raise it with the installer while the work is still under warranty. If your installer isn’t responsive, we can evaluate equipment across nine brands and tell you what’s actually happening.
Filters, clearing debris from around the outdoor unit, checking the drain pan, and flushing an accessible drain line are all homeowner-safe. Never open electrical panels or touch the refrigerant circuit, since those carry shock and regulatory risk and can affect your warranty. Leave sealed-system work to a licensed technician.
Scheduling a professional visit in spring, before the cooling season peaks, and again in fall after the heavy season is the practical rhythm for Clearwater. That timing catches coil cleaning and drain clearing before they become problems. Call (855) 360-7082 for a free estimate. We answer 24/7, with fast dispatch from 7am to 7pm, Sunday through Friday.
The Bottom Line
A new AC installation isn’t the finish line. Your first year of maintenance, tied to Clearwater’s actual climate rather than the generic owner’s manual, is what determines whether the system reaches its rated life or falls a few years short. Check airflow and the drain line in the first week, follow a month-by-month calendar that emphasizes filters and drain care, keep sealed-system and electrical work with a licensed technician, and watch the first year for red flags that point to an install problem. Do that, keep a record, and the warranty and the equipment will reward you. If you need a hand, we’re here.
Call (855) 360-7082 for a free estimate on AC installation or maintenance. We answer 24/7, with fast dispatch from 7am to 7pm, Sunday through Friday. From AC installation to furnace repair in Clearwater, nine brands and one team mean no runaround.
Written by the team at Millbrook AC Repair.