
Last updated November 16, 2026
 AC repair
 Furnace & heating
 Heat pumps
 Ductless mini splits
 Carrier
 Trane
 Goodman
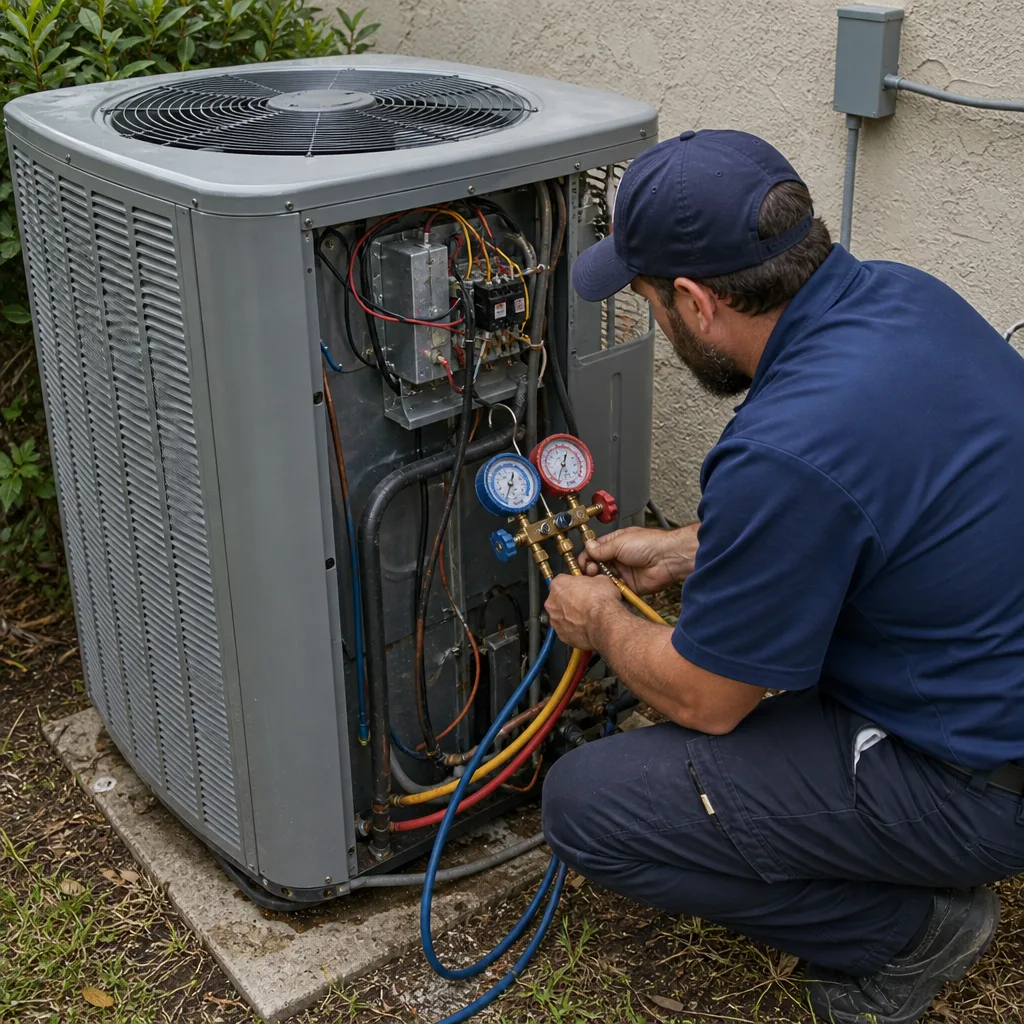
Seasonal tune-up and full diagnostic on your Carrier, Trane, or Goodman system - readings shown to you before any repair is proposed
Diagnosis first, numbers second - you approve the repair price before a single part goes in.
Get your free estimateThe Complete AC Installation Guide for Clearwater Homeowners
Most AC failures within the first three years trace back to installation day, not the equipment. In Clearwater, that’s a costly reality, because a system here runs far more hours per year than one in a cooler climate, and every shortcut taken during the install gets multiplied by that runtime. A unit that’s slightly oversized cools fast on day one and then fights humidity for a decade. A line set run too long or left under-insulated works fine in spring and starts straining by the first real summer. This guide walks through a proper installation the way a technician thinks about it, so you understand what’s happening, what to ask, and what to hold a contractor accountable for.
Quick Answer
A correct AC installation in Clearwater means three things done in the right order: a room-by-room load calculation (Manual J) rather than a guess based on square footage, equipment and materials selected for a hot, humid climate rather than whatever’s on a shelf, and a recorded startup check with pressures and airflow verified before the contractor leaves. The unit itself matters, but the sizing, the line set, the permit, and the first 30 days of operation determine how long it actually lasts.
Styles & brands we work with
- AC repair
- Furnace & heating
- Heat pumps
- Ductless mini splits
- Carrier
- Trane
- Goodman
Table of Contents
- Why a Manual J Load Calculation Matters More in Clearwater
- Choosing Equipment for a Humid, Hot Climate
- The Refrigerant Line Set: Length, Insulation, and Warranty Risk
- Permits and Inspection in Clearwater
- What a Proper Installation Looks Like, Step by Step
- The First 30 Days: Startup Checks and What to Watch
- How Much Does AC Installation Cost in Clearwater?
- Repair or Replace? How to Decide
Why a Manual J Load Calculation Matters More in Clearwater
Every home in America should get a load calculation before getting a new air conditioner. In Clearwater, that calculation needs to be taken more seriously than almost anywhere else, because the difference between a correct manual J and a rough guess shows up in two ways: comfort during the humid months, and the lifespan of the equipment.
The Manual J looks at the whole house rather than the square footage. It accounts for window size and direction, insulation values, ceiling construction, how much of the home sits over a concrete slab, and the number of people who live there. In a Clearwater home, that last part also means humidity. The calculation tracks the sensible load (heat you can feel) alongside the latent load (the moisture the system has to pull out of the air). A system sized only for the sensible load cools fine and then runs short cycles that never dry the house properly, leaving rooms feeling clammy even when the thermostat reads 74.
Two local details matter in particular. First, Clearwater’s year-round runtime means equipment runs for thousands of hours per year instead of hundreds. An oversized system that short-cycles wears out faster and struggles to control humidity. An undersized system runs constantly during the hottest weeks and never quite keeps up. Second, the concrete slab under most Clearwater homes holds heat and gives it back into the living space all evening. A load calculation done well picks that up; a rule of thumb based on square footage doesn’t.
Ask any contractor you talk to for the actual load calculation, not just the tonnage. A serious installer will produce a room-by-room report showing how they arrived at the number. If they just eyeball the house and say “two and a half tons,” that’s the first sign of an install that will struggle later. When we walk into a Clearwater home, that calculation is where the conversation starts, and the equipment choice follows from it instead of the other way around.
Choosing Equipment for a Humid, Hot Climate
The equipment rating sheet tells you the tonnage and the SEER2 number. What it doesn’t always tell you is how the system was built for humidity and how well it will hold up under Clearwater’s heat. Two systems with the same tonnage can behave very differently in a home here, mostly because of how they handle moisture.
For our climate, several features deserve attention when you’re comparing brands or models:
- Variable-speed or multi-stage compressors. A system that can run at a lower capacity keeps the air moving longer at a gentle pace, which controls humidity far better than a single-stage unit that just cycles on and off. If your home ever feels sticky on a mild day, this is why.
- Matched indoor and outdoor units. The air handler and condenser are designed to work as a pair. Mixing brands or generations can work, but the efficiency rating applies to the matched pair. Our approach is to select an indoor and outdoor unit that were engineered for each other, whether that turns out to be a Carrier, a Trane, a Lennox, or another supported brand.
- Coil and cabinet construction. In a hot, humid climate, the coil is where condensation lives. Aluminum-fin coils and cabinets built to resist humidity hold up better than cheap interior components over a long service life. Ask what the coil and the cabinet are made from, not just what the brand stamp says.
- Drainage path. A Clearwater system produces a lot of condensate. A proper installation includes a primary drain line with the correct slope and a secondary or emergency pan switch, so a stopped drain doesn’t end up in your ceiling.
The brand matters less than getting the right model within the brand for your house. We work across nine major manufacturers, which means we’re not locked into pushing one line. That’s a different conversation than the one a single-brand dealer has with you. When a homeowner asks us what’s the right system for their home, the honest answer usually depends on the load calculation we just ran, the humidity concerns in their specific rooms, and how long they plan to stay in the house.
The Refrigerant Line Set: Length, Insulation, and Warranty Risk
The refrigerant line set is the pair of copper tubes that carry refrigerant between the outdoor condenser and the indoor coil. It’s the part of an installation homeowners rarely see and the part that most often determines whether the manufacturer honors a warranty later. Get a line set wrong in Clearwater and you may not notice for a year. By then, the compressor has been working harder than it should have been.
Three things make a line set correct:
- The run stays within the manufacturer’s limits. Each manufacturer publishes a maximum line length and a maximum vertical rise for each model. When a technician runs a longer line than the spec allows without adjusting, the system loses capacity and the compressor works harder. Ask how long the run is and confirm it’s inside the spec.
- The insulation is the correct wall thickness for the application. Under-insulated suction lines sweat in humidity, drip onto ceilings and walls, and lose efficiency. In our climate, using the correct thickness from end to end, with no gaps or compressed sections, is not optional.
- The installation follows the manufacturer’s instructions exactly. That means proper brazing with nitrogen flowing to prevent oxidation inside the lines, proper evacuation with a vacuum gauge held to the manufacturer’s micron level, and a clean, sealed entry at the wall penetration. A rushed line run is where warranty claims get denied.
If a contractor quotes you a new system without discussing line length, insulation, and evacuation, ask about them. If the answer is vague, that’s your signal. The best equipment in the world will not outrun a compressed line set with a poor vacuum, and in Clearwater the humidity will find every shortcut. Our technicians have up to 10 years of experience running line sets across several different equipment brands, and the questions they ask before a run day look the same no matter what’s on the box.
Permits and Inspection in Clearwater
Replacing an air conditioning system in Clearwater typically requires a permit, and the work needs inspection before it’s considered complete. That timeline varies by jurisdiction and season, but a legitimate installation always includes it. A contractor who suggests skipping the permit is offering to save you a few dollars in exchange for problems you can’t see yet: an unpermitted install can complicate a future home sale, and it can void the manufacturer’s warranty since the paperwork trail won’t match the equipment serial number.
The permit and inspection process usually looks like this:
- Pull the permit before work begins. The permit is issued to the licensed contractor doing the install, not to you. That’s one reason the licensed relationship matters.
- Install the system to code. That includes the electrical connection, the condensate drain, the equipment clearance from the structure, and the line set installation.
- Schedule the inspection when the install is complete. The inspector visually verifies the work, checks the permit documentation, and confirms the system is safe and code-compliant.
- Keep the inspection record with your equipment paperwork. It becomes part of the documented history of the system, which matters if you ever file a warranty claim or sell the home.
Common flags during a Clearwater inspection include an improperly sloped condensate drain, missing secondary drain or pan switch protection, and electrical connections that weren’t installed to code. All of those are visible to you too, if you know to look. Ask the contractor for the permit number on the day the work starts, and ask when the inspection is scheduled. A serious installer will have an answer ready. For related discussions on the heating side, our furnace repair page covers how the heating equipment in the same home gets the same treatment.
What a Proper Installation Looks Like, Step by Step
Every installation is a bit different, but a correct one follows a recognizable sequence. If you’re hiring for a full system replacement in Clearwater, this is the shape of the job to expect.
- Load calculation and system selection. The contractor measures the home, runs a Manual J, and proposes equipment sized for the actual load. This is a conversation, not a quotation faxed over.
- Permit pulled before the install day. You should have the permit number in hand before the truck arrives.
- Old equipment removed and disposed of. Refrigerant is recovered, not vented. The old condenser, coil, and line set (if it’s being replaced) come out cleanly.
- Indoor and outdoor units set in place. The pad under the outdoor unit is level. The indoor air handler is set with correct clearance from the structure.
- Line set run and brazed. This is the step that gets rushed most often. Insist on a proper nitrogen purge and a documented vacuum hold.
- Electrical connection and thermostat installed. Confirm the breaker size matches the equipment spec, and confirm the thermostat works with the new system.
- Condensate drain and safety switch installed. Primary drain slopes correctly, secondary protection is in place.
- System charged to the manufacturer’s spec. That means weighing in refrigerant or charging by subcooling, not eyeballing pressures.
- Airflow verified at the registers. Static pressure measured, and air balanced across rooms.
- Startup checklist completed and inspection scheduled. Documentation handed to the homeowner.
If a contractor quotes a full install for two or three days and can describe that sequence in detail, that’s a good sign. If they say “it’ll be done in a couple hours,” ask what they’re skipping. For the current options and approach on the cooling side, see our AC installation page.
The First 30 Days: Startup Checks and What to Watch
The first month after a new system goes in is when most installation problems surface, and it’s also when a homeowner has the most leverage to have them fixed without argument. That’s why a serious installer schedules a check inside that window rather than just walking away once the unit cools.
Here’s what a proper startup check verifies:
- Refrigerant charge matches the manufacturer’s spec. Charged by weight or by subcooling, then verified after the system has run for a while.
- Temperature split across the indoor coil. The difference between return air and supply air should fall within the manufacturer’s range. Too low or too high both mean something’s wrong.
- Static pressure and airflow. A system with restricted airflow from undersized ductwork or a wrong speed tap works hard and cools poorly.
- Condensate drainage. Water actually leaves the house, and the safety switch trips correctly when tested.
- Electrical draw at the outdoor unit. Confirmed within the nameplate spec.
- Thermostat settings and programming. Confirmed with the homeowner that the schedule matches how the house is actually used.
During those 30 days, watch for a few things yourself. A system that cools the house quickly and then cycles off for long stretches is a red flag for oversizing. Rooms that stay warmer than the rest of the house usually mean airflow, not refrigerant. Water stains or dripping near the air handler are a drainage issue that needs attention before it becomes ceiling damage. Any of these is worth a call back to the installer, and any honest contractor will want to hear about them.
How Much Does AC Installation Cost in Clearwater?
AC installation pricing in Clearwater depends heavily on the equipment size, the efficiency rating, whether the line set is being replaced, and how much ductwork is being adjusted. Pricing is quoted per job after a written estimate, because no honest installer can price a system without seeing the house. Here’s the general shape of what determines the number:
- Equipment capacity and efficiency rating. A larger or higher-efficiency system costs more. Within the same capacity, the SEER2 rating pushes the price up.
- Whether the line set is replaced. Reusing an existing line set is cheaper when it’s within spec. Replacing it is the right call more often than most homeowners realize.
- Ductwork adjustments. If the existing ductwork can’t handle the new system’s airflow, correcting it belongs in the budget. Skipping it means paying for a system that can’t perform.
- Permit and inspection. A legitimate installation includes both.
- Electrical work. If the breaker or wiring needs to be upgraded to match the new equipment spec, that’s part of the quote.
What we won’t do is quote a number over the phone without seeing the home. A written estimate, itemized for equipment and labor, is the right way to compare proposals. When you get quotes, ask each contractor to break theirs down the same way. Comparing a detailed estimate against a one-line number isn’t a real comparison. If a quote seems dramatically lower than the others, ask what’s missing from it: usually it’s the permit, the line set, or the duct corrections.
Repair or Replace? How to Decide
Not every struggling system needs to be replaced. Some do, and pretending otherwise wastes a homeowner’s money. The decision is usually a straightforward comparison once you know a few facts.
Replacement tends to make more sense when the system is old, when refrigerant has become the expensive kind, when major components are failing at the same time, or when the repair cost would be a large fraction of the cost of a new system. Repair tends to make more sense when the equipment is still within its expected life, when a single component has failed, and when the rest of the system is healthy.
What we try to do is diagnose before we recommend. If the answer is a repair, we say so. If the equipment is beyond what a repair can fix in a way that’s worth the money, we say that too. That’s what brand-independent diagnosis should look like. It’s also why we work across Carrier, Trane, Lennox, Goodman, Rheem, York, Daikin, Bryant, and American Standard rather than steering every homeowner toward one brand. The right answer is a fit thing, not a brand thing, and we’d rather have a conversation about what fits the home. The same philosophy applies on the heating side and informs why heating and cooling are handled together by one team. More on our approach lives on the Millbrook AC Repair home page, and if a heat-side issue comes up, furnace replacement and repair belong in the same conversation as your cooling system.
Common Mistakes to Avoid
- Sizing by square footage alone. A hundred Clearwater homes with identical square footage can need different tonnage because of ceiling height, window coverage, and slab exposure. Insist on a Manual J.
- Reusing an old line set without checking it. A line set that’s within the new system’s spec is fine to reuse. One that isn’t will cost you efficiency for years. Verify before signing off.
- Skipping the permit to save money. An unpermitted install can trip up a future home sale and can void the manufacturer’s warranty when the paperwork doesn’t match the equipment. Always permit.
- Ignoring airflow during installation. If the ductwork can’t support the new system’s airflow, static pressure rises, the blower works hard, and no room ever gets quite cool. Balance airflow before closing up the job.
- Choosing on brand alone. The name on the cabinet matters less than whether the model is right for your house. Compare the load calculation and the model number, not just the brand.
- Not scheduling the first-30-day check. That initial verification catches the issues that hide during the honeymoon week. Put it on the calendar the day the install is scheduled.
- Waiting until the system fails to plan the replacement. A system replaced on your timeline (with quotes compared, equipment chosen carefully, and permits handled) costs less stress than one replaced the day it dies during a hot week.
See the difference
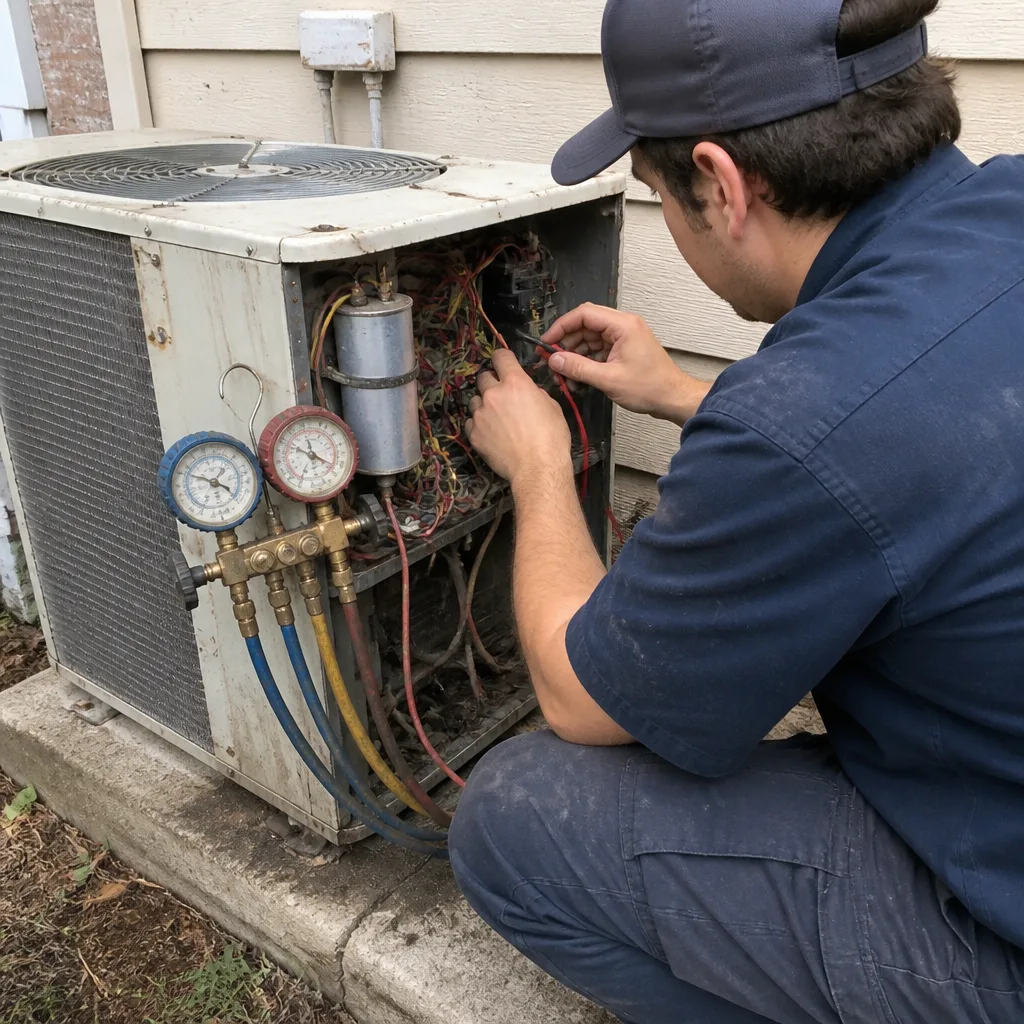 Before
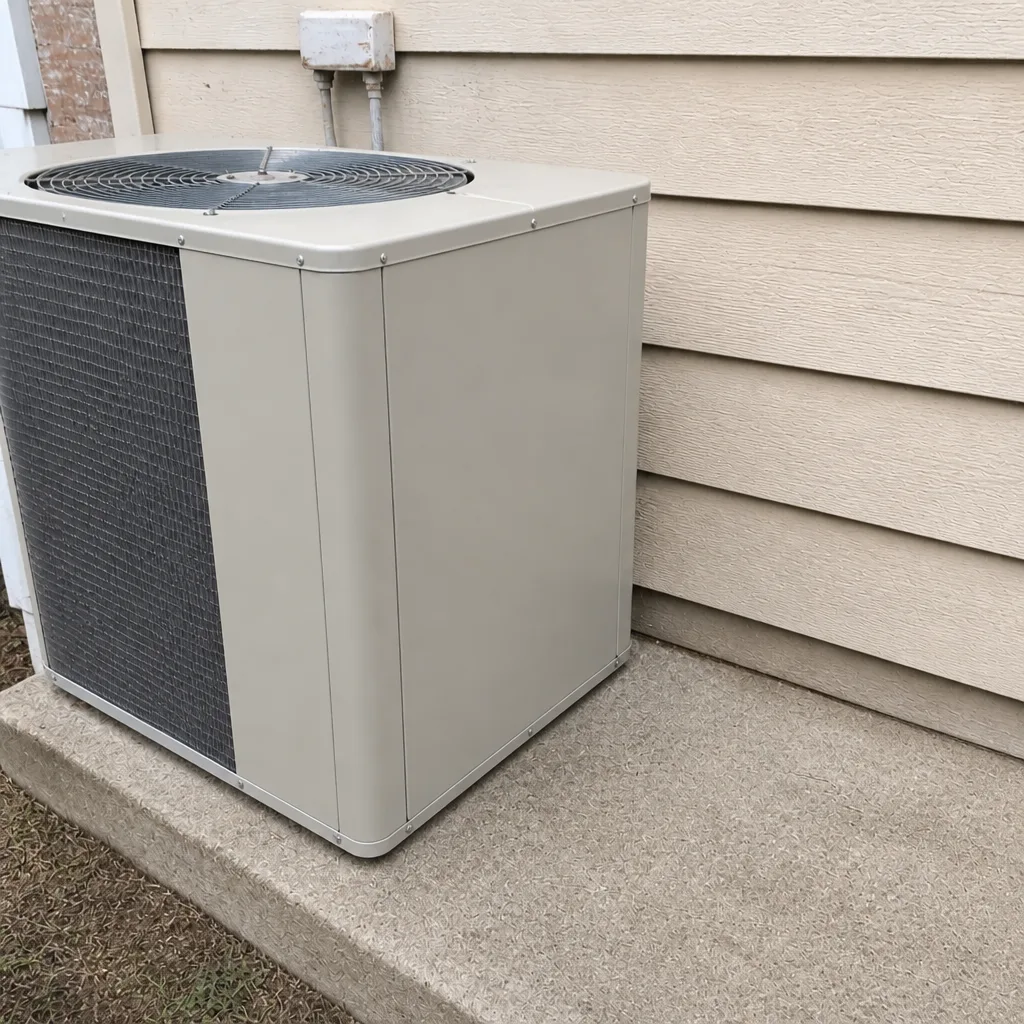 After
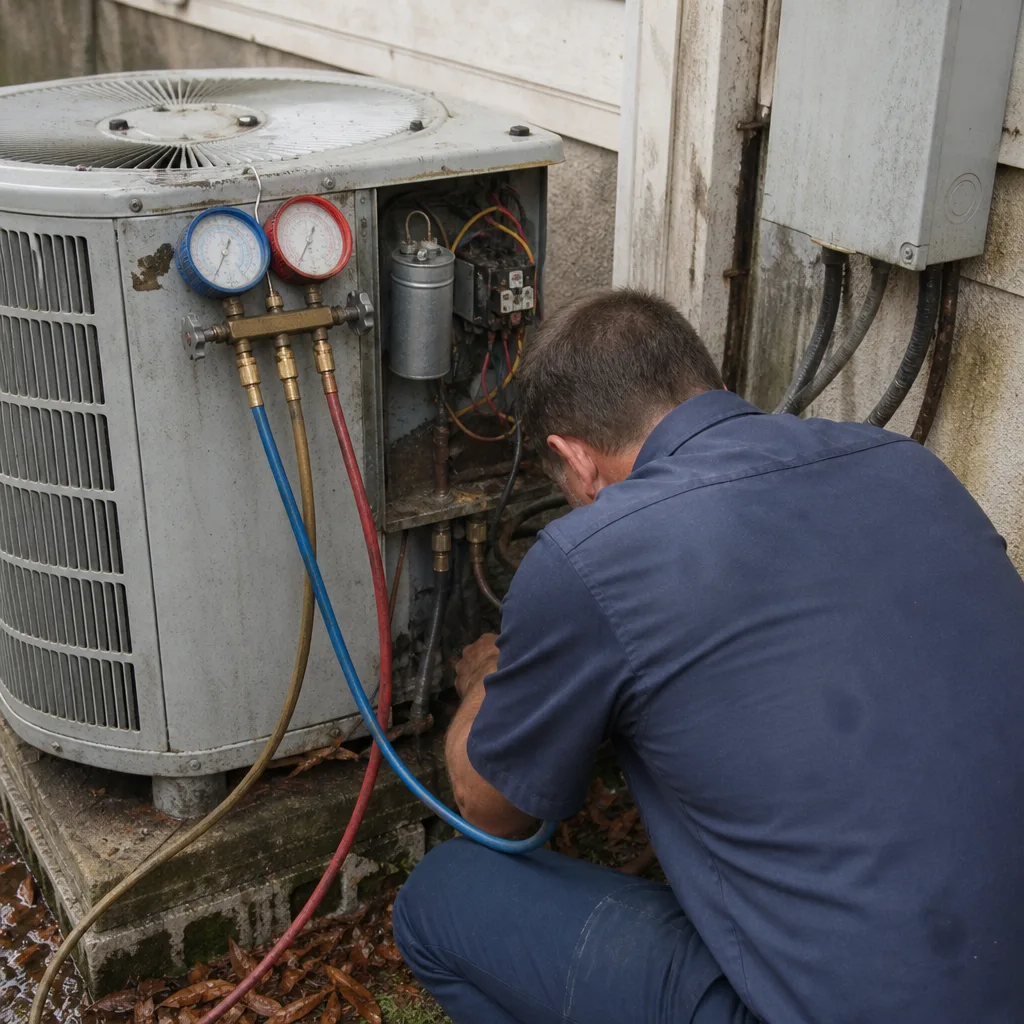 Before
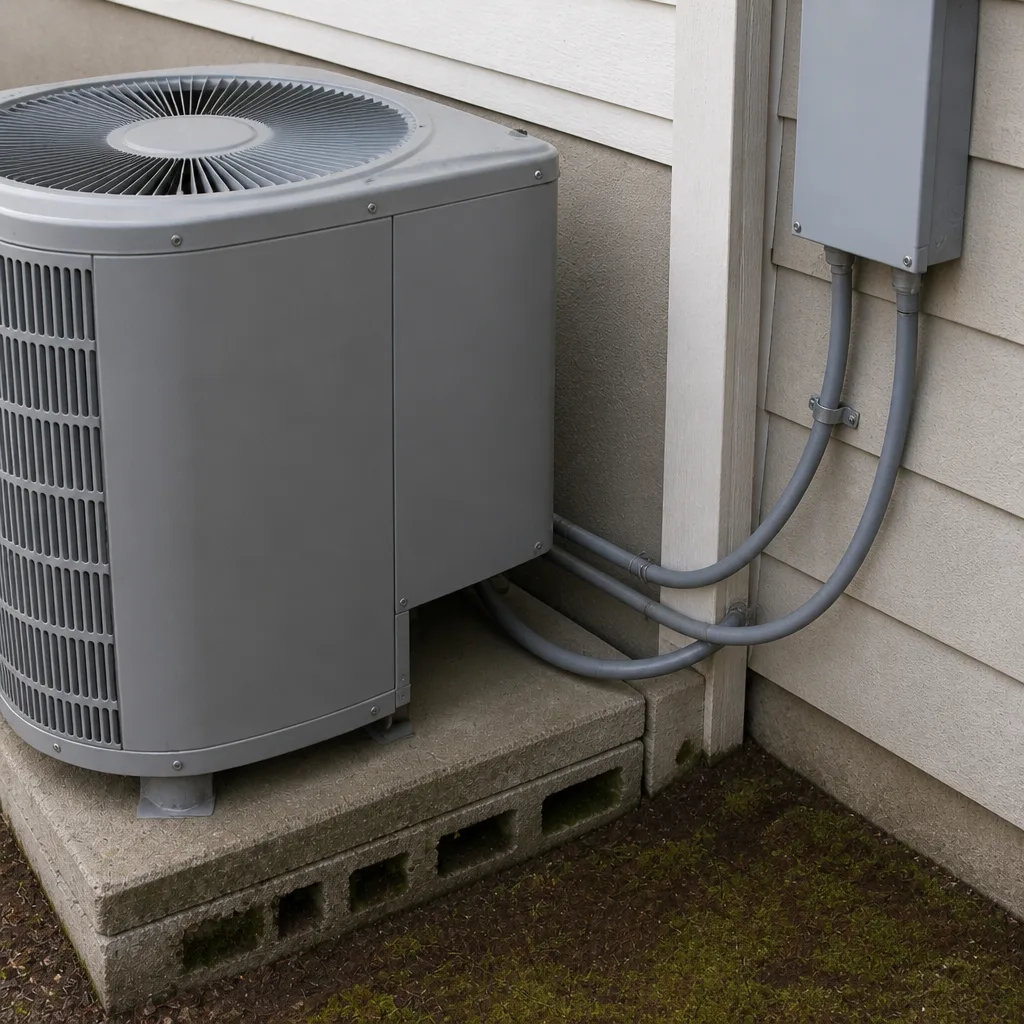 After
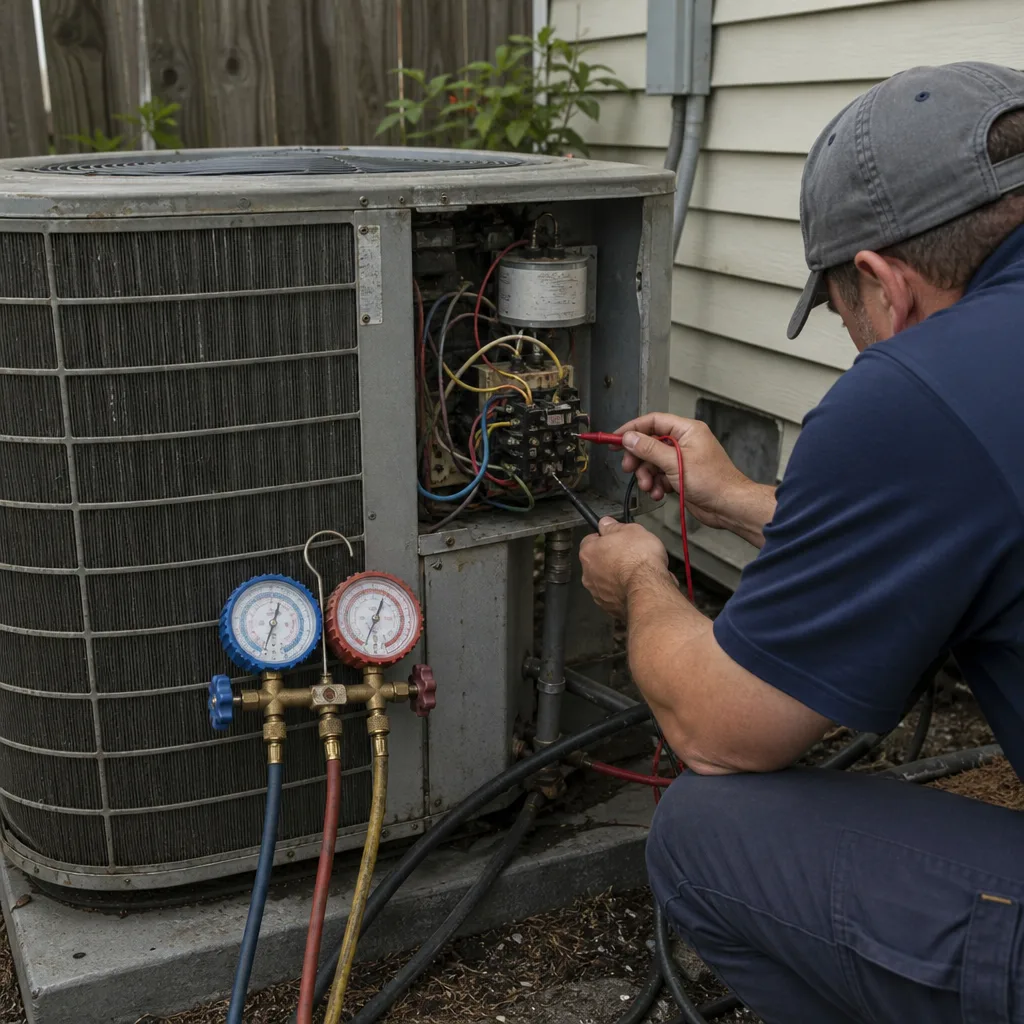 Before
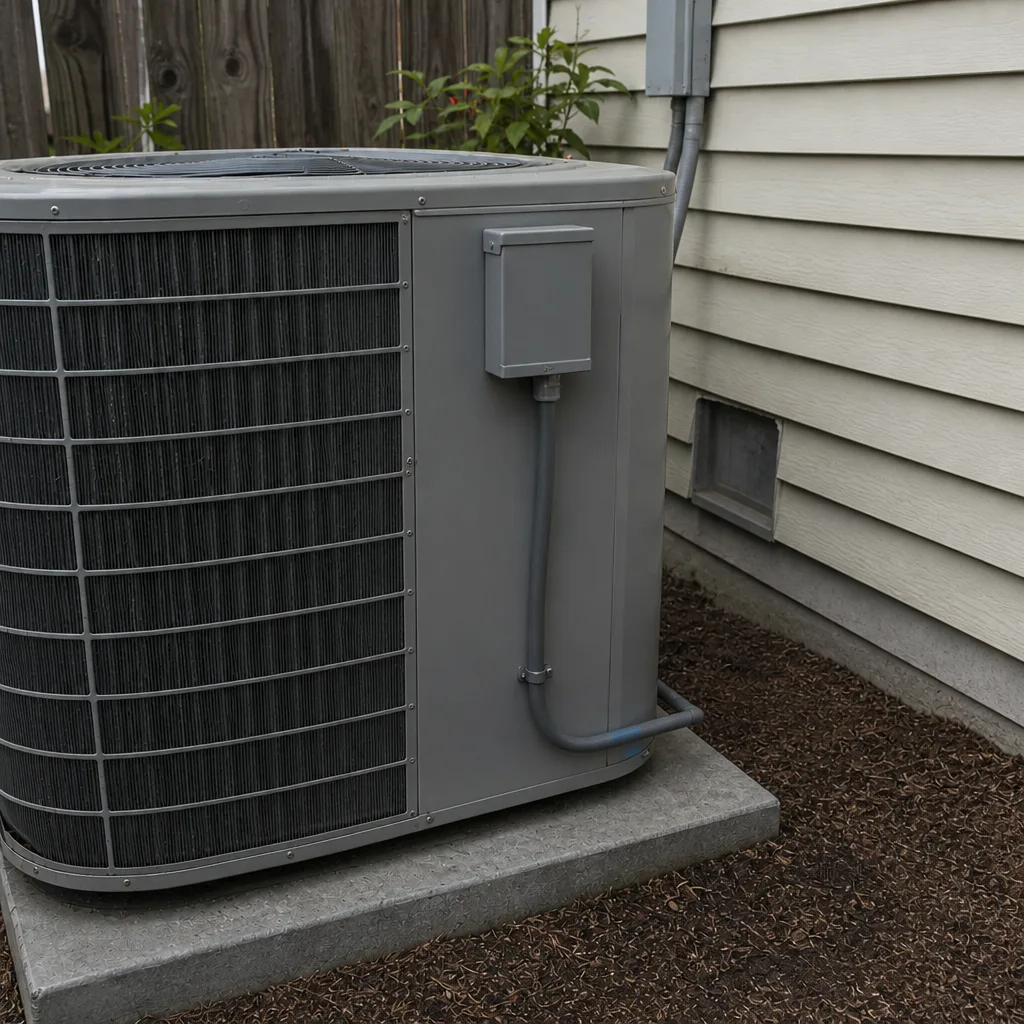 After
When to Call a Professional
Call a professional the moment you’re considering a new system, not after the old one fails. An installation conversation starts with a load calculation and a walkthrough, and that first conversation gives you the numbers you need to compare quotes. If a system is producing water near the air handler, if the house cools unevenly room to room, or if a repair recommendation on the cooling side turns into a bigger conversation, those are professional calls too. Millbrook AC Repair offers free estimates in Clearwater, and we handle cooling installation and heating repair under one roof. For a first look at what we do on a new system, our AC installation page walks through the process. Call (855) 360-7082 for a free estimate. We answer 24/7. Fast dispatch from 7am to 7pm, Sunday through Friday.
Frequently Asked Questions
A full system replacement in Clearwater typically takes one to two working days, depending on whether the line set and ductwork are being replaced alongside the equipment. Day one is usually the removal of the old system and the set of the new indoor and outdoor units. Day two covers the line set, electrical, charging, and startup verification. Complex jobs with duct corrections can run longer. The written estimate should spell out the expected schedule before work starts.
There’s no safe shortcut, and the honest answer is that only a room-by-room load calculation determines the right size. Every home in Clearwater has different exposure, insulation, window coverage, and slab exposure. Ask the contractor for the Manual J report and confirm the tonnage they recommend matches it. If a contractor quotes tonnage based on square footage alone, ask them to run a load calculation before you sign. Call (855) 360-7082 for a free estimate, and we’ll walk through the sizing conversation with you.
In most cases, yes. Clearwater has a permitting and inspection process for system replacements, and the permit is issued to the licensed contractor performing the work. The inspection confirms the installation meets code on electrical, condensate drainage, and equipment clearance. Skip it and you inherit risks when you sell the home, plus a possible warranty problem if the paperwork doesn’t align. Always confirm the permit is pulled before the install starts, and ask when the inspection is scheduled. Call (855) 360-7082 for a free estimate and we’ll walk through the permit process with you.
Repair is usually the right call when a single component has failed and the rest of the system is still within its expected life. Replacement tends to make sense when major components are failing at once, when the equipment is already old, or when the repair cost would represent a significant share of a new system. We diagnose before we recommend, and we work on nine brands, so the answer is based on the equipment, not what we prefer to sell. Call (855) 360-7082 for a free estimate.
Pricing is set per job after a written estimate, because the cost depends on the size, the efficiency rating, whether the line set is being replaced, and whether the ductwork needs corrections. A detailed estimate itemizes equipment and labor so you can compare apples to apples. Asking three contractors to break down their quotes the same way is the fastest route to a clean comparison. Get a free estimate by calling (855) 360-7082.
Most likely, yes. We’re trained and equipped to work on equipment from Carrier, Trane, Lennox, Goodman, Rheem, York, Daikin, Bryant, and American Standard, so you’re not restricted to one brand for a new install or for service afterward. If you’re uncertain about the equipment model in your home, bring the model number on the outdoor unit when you call and we’ll confirm. For the current options and approach, our AC installation page lays it out. Call (855) 360-7082 for a free estimate.
The Bottom Line
A proper AC installation in Clearwater is decided by things you can verify before the technician arrives: a load calculation, a permit, and a line set installed to spec. The equipment matters, but the process around it decides whether a good unit delivers a decade of comfort or a short life of humidity complaints. Hold every contractor to those three things and you’re in a much better position than most homeowners going into the same conversation. Millbrook AC Repair works across nine major brands so the equipment fits the home rather than the other way around, and we handle the heating side too. Call (855) 360-7082 for a free estimate. We answer 24/7. Fast dispatch from 7am to 7pm, Sunday through Friday.
Written by the team at Millbrook AC Repair.